
Logos
Open /dashboard/assets/logosThe Logos library holds the brand marks that go onto garments: a club crest, a sponsor mark, a federation badge. Putting them here means a customer picks one from a list instead of hunting for a file and uploading the wrong version.
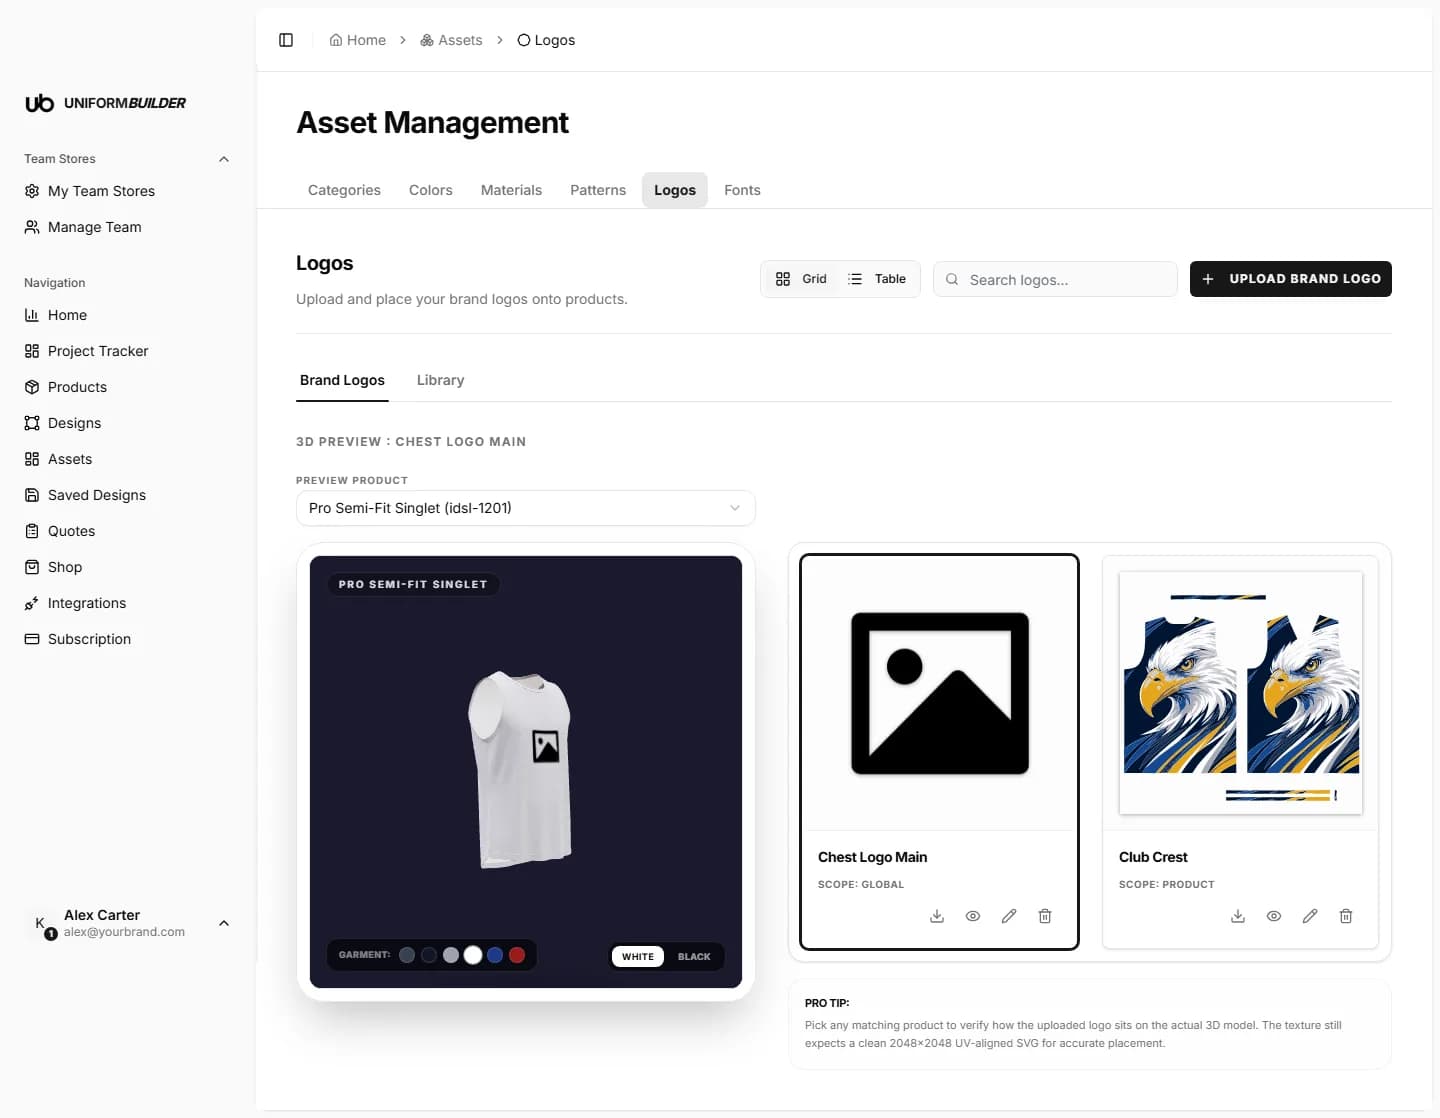
- Brand Logos holds the marks you added for this store.
- Library is the shared stock library you can draw from.
Two ways to add a logo
Click Upload Brand Logo and the first step asks you to choose how you want to add it. The two options solve different problems.
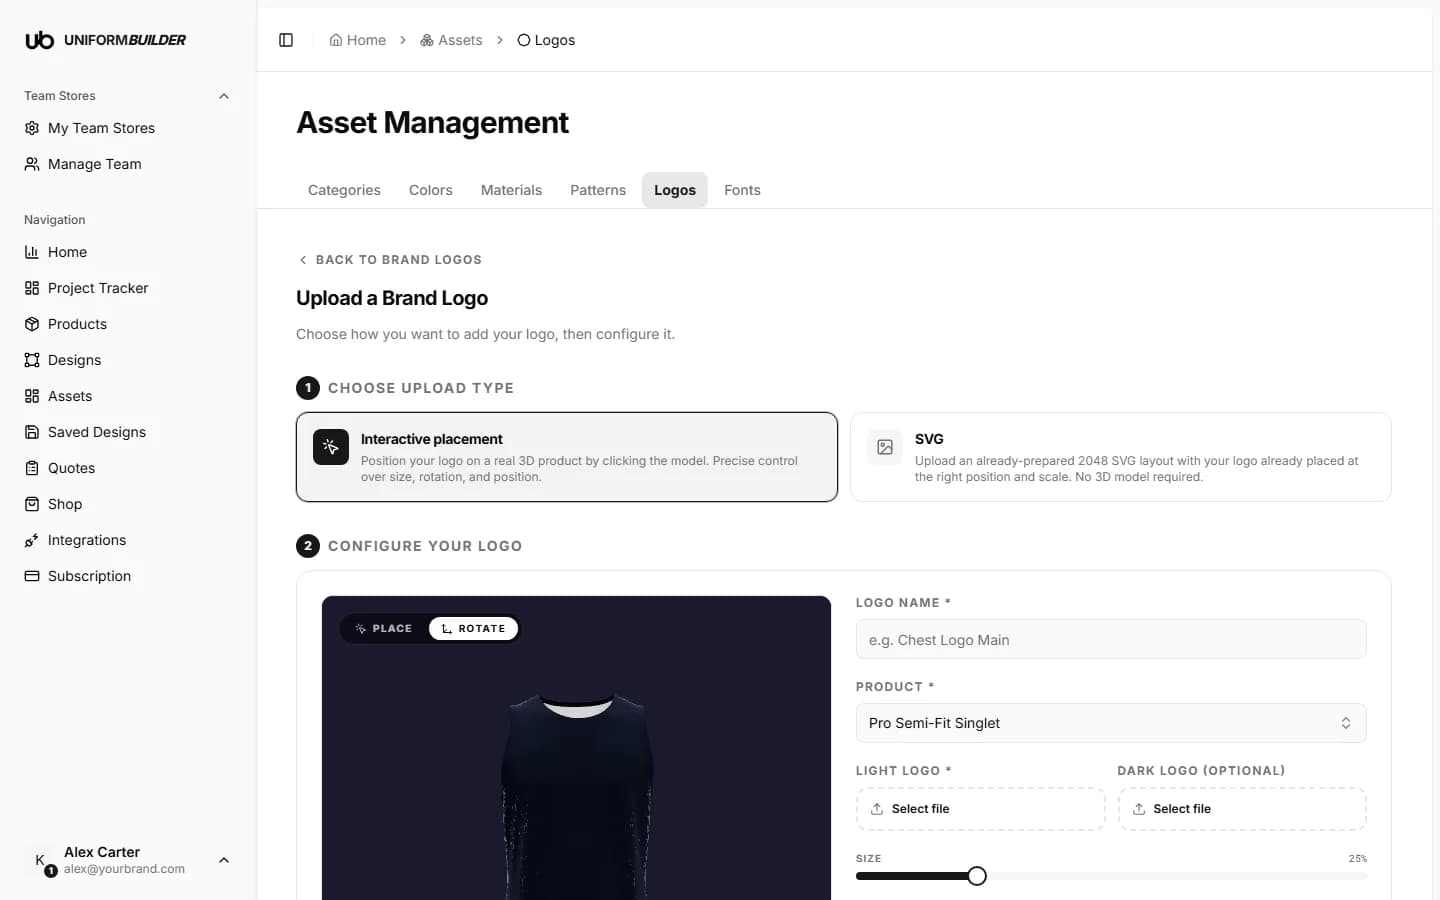
| Field | What it does |
|---|---|
| Interactive placement | Position the logo on a real 3D product by clicking on the model. You get precise control over size, rotation and position. Choose this when you know where the logo belongs on the garment, for example a chest crest. |
| SVG | Upload an already-prepared 2048 SVG layout with the logo already placed at the right position and scale. No 3D model needed. Choose this when your design team hands you a finished print layout. |
Adding a logo with interactive placement
- 1
Click Upload Brand Logo, then choose Interactive placement.
- 2
Pick the product to place it on.
The 3D model loads on the right. This is only the reference garment for positioning.
- 3
Type a logo name.
Describe the position as well as the mark, for example "Chest Logo Main". That is how your team will find it later.
- 4
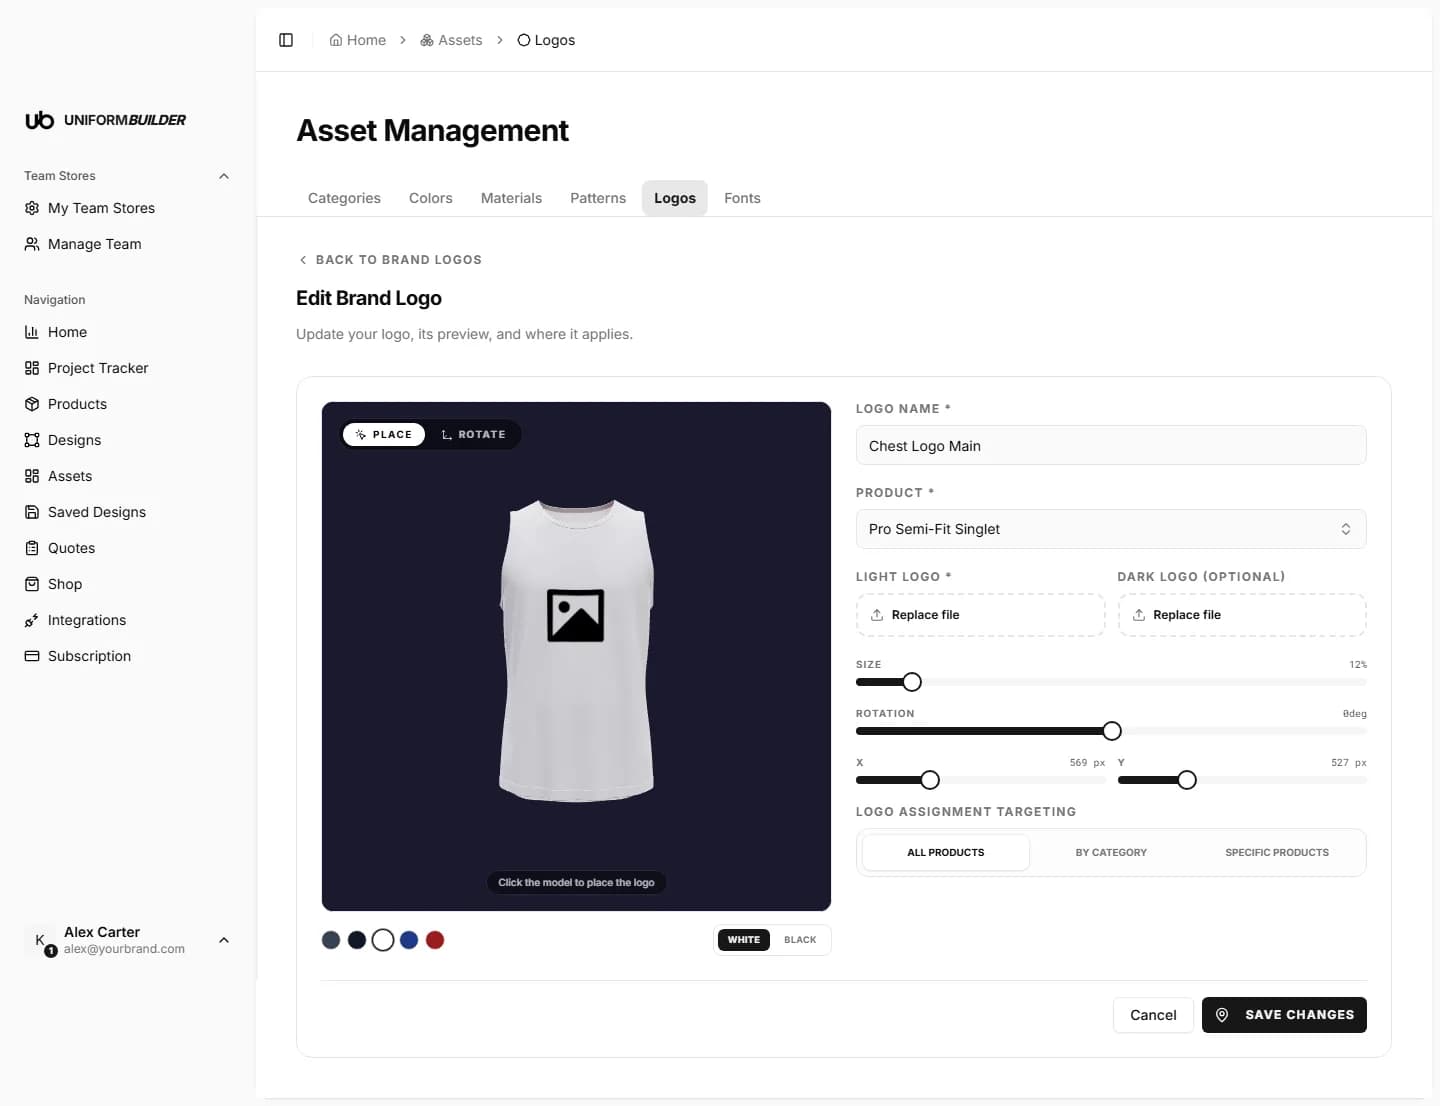
Upload the logo file, then click on the model where it should sit.
Use the place and rotate controls to adjust. Take your time here: this position is what customers get by default.
- 5
Set the targeting: All products, By category, or Specific products.
- 6
Click Save Logo.
Check the size before you save
The size slider starts at 25%, which covers most of a chest. A crest usually wants something closer to 10 or 15%. Drag it down and watch the model until it looks like something you would actually print.
Adding a prepared SVG layout
- 1
Click Upload Brand Logo, then choose SVG.
- 2
Type a logo name. This field is required.
For example "Club Crest" or "Primary Brand Mark".
- 3
Under Light layout, click Select file and choose your
.svg.This is the version used on light garments. It is required.
- 4
Optionally add a Dark layout.
A second SVG used on dark garments, typically the same mark in white or with a light outline. Worth doing: a navy crest on a black jersey disappears.
- 5
Set the logo assignment targeting, then click Save Logo.
What "2048 layout" means
The SVG is expected to be a full 2048 by 2048 canvas with the logo already sitting where it belongs, not a tightly cropped logo. That is how the position and scale survive without a 3D placement step.
Getting the file right
- Vector, always. An
.svgexported as paths stays sharp at any print size. - Transparent background. A white box around a crest will be printed as a white box.
- Ask for the original. A logo copied from a website is almost always too low resolution to print. Whoever owns the brand has the real file.
- Convert text to outlines before exporting, so the mark does not depend on a font being installed.
Check you are allowed to print it
Club crests, league badges and sponsor marks usually come with usage rules. Uploading one here makes it available to everyone who can design in this store.
The 3D preview says "No matching products".
The preview can only show the logo on a product the logo actually applies to. If its targeting is Specific products and nothing is ticked, there is nothing to preview. Open the logo, set targeting to All products or tick at least one product, and save.
The logo looks fine on white but vanishes on navy.
Add a dark layout SVG to the same logo entry. The designer then picks the right version for the garment colour.
Can I stop a logo appearing on some products?
Yes. Set its targeting to Specific products or By category rather than All products.
A customer wants to upload their own logo.
That is a separate flow in the public designer, and it does not add anything to this library. This library is for the marks you control.