
Getting started
Open /dashboardUniformBuilder gives your customers a 3D product designer, and gives you a dashboard to control what they can design with. This page explains how to sign in and how the dashboard is organised.
Signing in
Go to uniformbuilder.io/login. You can sign in with an email and password, with a one-time magic link sent to your inbox, or with a Google, GitHub or Twitter account.
Two-factor authentication
If two-factor authentication is enabled on your account, you are asked for a six digit code from your authenticator app right after the password step.
First: you need a team store
Almost everything in the dashboard belongs to a team store: your products, your designs, your colours and your quotes. A team store is also the public page your customers visit, at uniformbuilder.io/your-slug.
If you have just created your account, create your store first. See Team stores for the full walkthrough.
How the dashboard is laid out
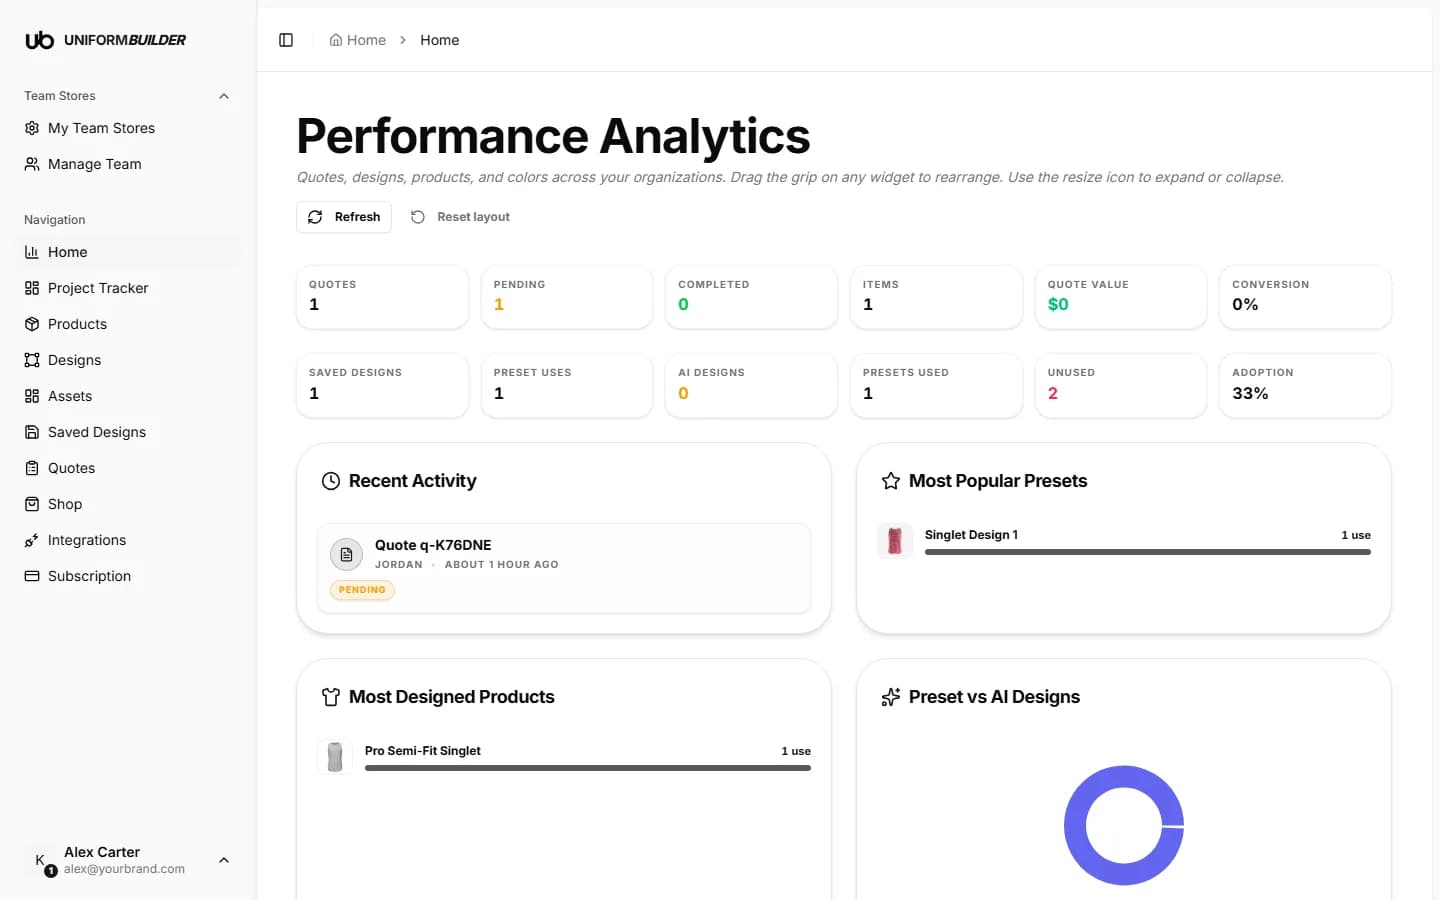
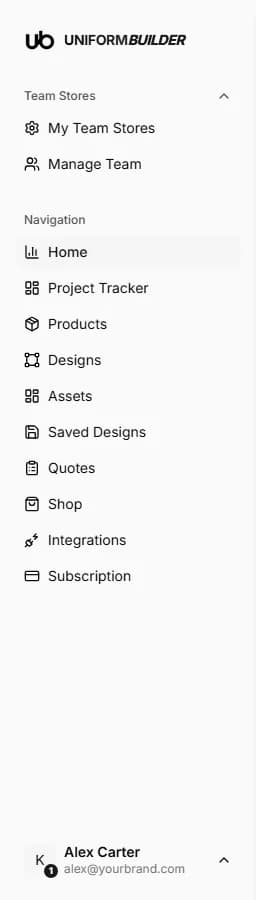
The sidebar on the left is the main map. It has two parts: Team Stores at the top, for the store itself and who can access it, and Navigation below, for the day to day work.
What each entry is for
| Field | What it does |
|---|---|
| My Team Stores | Create a store, open its settings, edit the public storefront, and see how many stores your plan allows. See Team stores. |
| Manage Team | Invite colleagues and set what they are allowed to do. See Team and permissions. |
| Home | Performance analytics for your stores: quotes, saved designs, popular colours. See Home and analytics. |
| Project Tracker | A board that follows each job from draft to done. See Project tracker. |
| Products | The 3D models customers can customize, with their prices, colours and print areas. See Products. |
| Designs | Ready made artwork you publish into the designer. See Designs. |
| Assets | Categories, colours, materials, patterns, logos and fonts. See Assets. |
| Saved Designs | What customers saved in the designer. See Saved designs. |
| Quotes | Quote requests submitted from your public page. See Quotes. |
| Shop | The catalog of 3D models you can add to your own products. See Shop. |
| Integrations | How quotes are delivered, your SMTP server, and store connections. See Integrations. |
| Subscription | Your plan, invoices and AI credits. See Subscription and credits. |
Your account menu
Your name at the bottom of the sidebar opens the account menu.
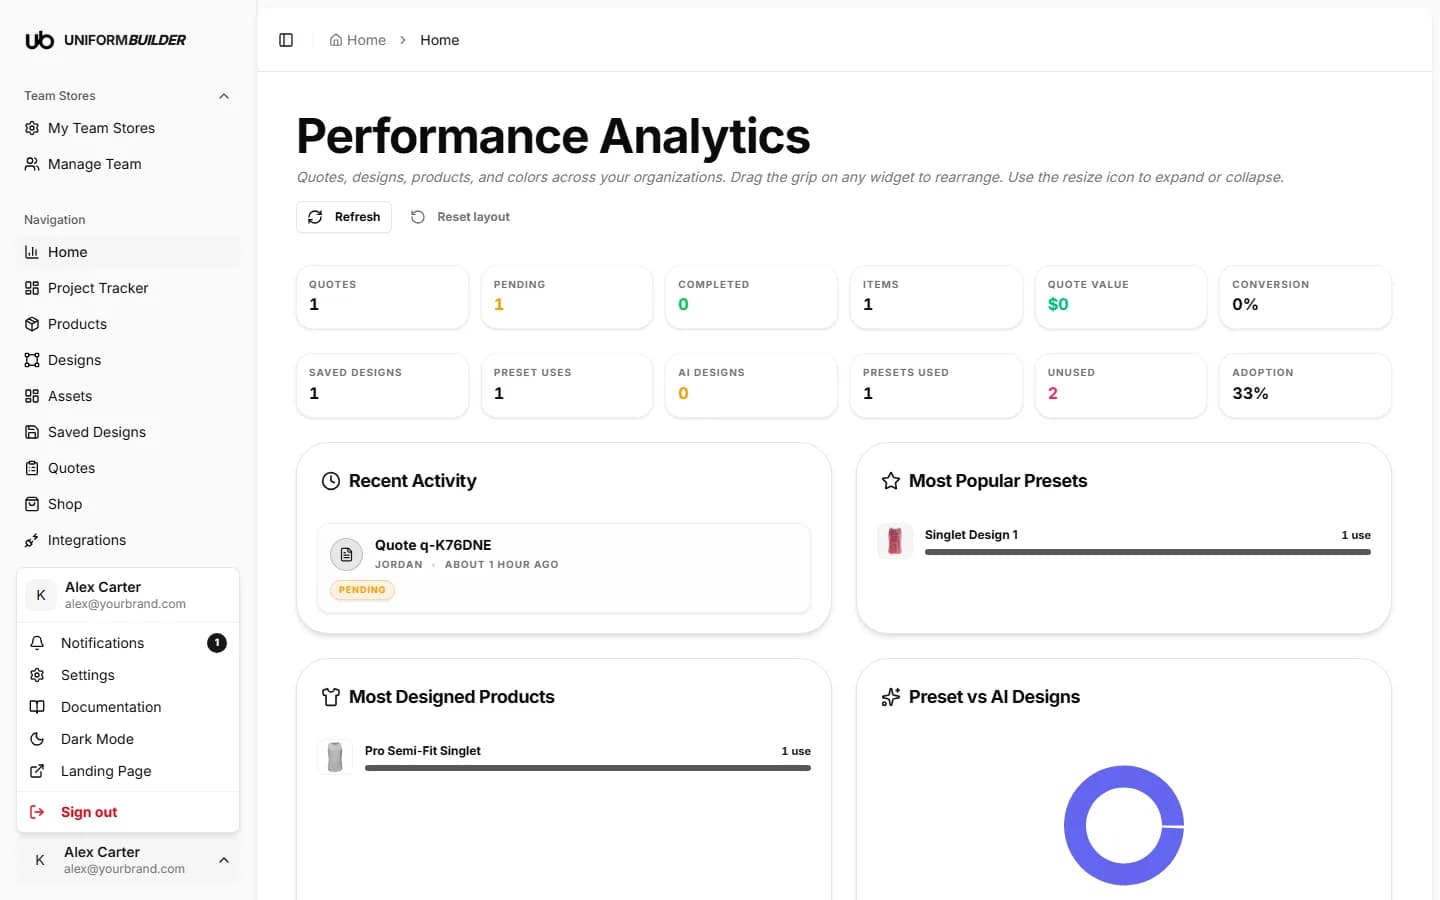
- Notifications shows invitation updates, quote updates and messages. See Notifications.
- Settings is your personal profile: name, avatar, password and two-factor authentication.
- Documentation opens this manual in a new page, from wherever you are in the dashboard.
- Dark Mode switches the dashboard theme. It only affects you, not your customers.
- Landing Page opens your public storefront in a new tab, which is what your customers see.
A sensible order to set things up
- 1
Create your team store
Name and URL. Everything else hangs off it. See Team stores.
- 2
- 3
Set up your colours, fonts and logos
These are the choices your customers get inside the designer. See Assets.
- 4
Publish a few designs
Artwork customers can drop onto a product in one click. See Designs.
- 5
Decide how quotes reach you
Email confirmation from your own SMTP server, or a draft order pushed into your store. See Integrations.
- 6
Invite your team
See Team and permissions.