
Connecting Stripe
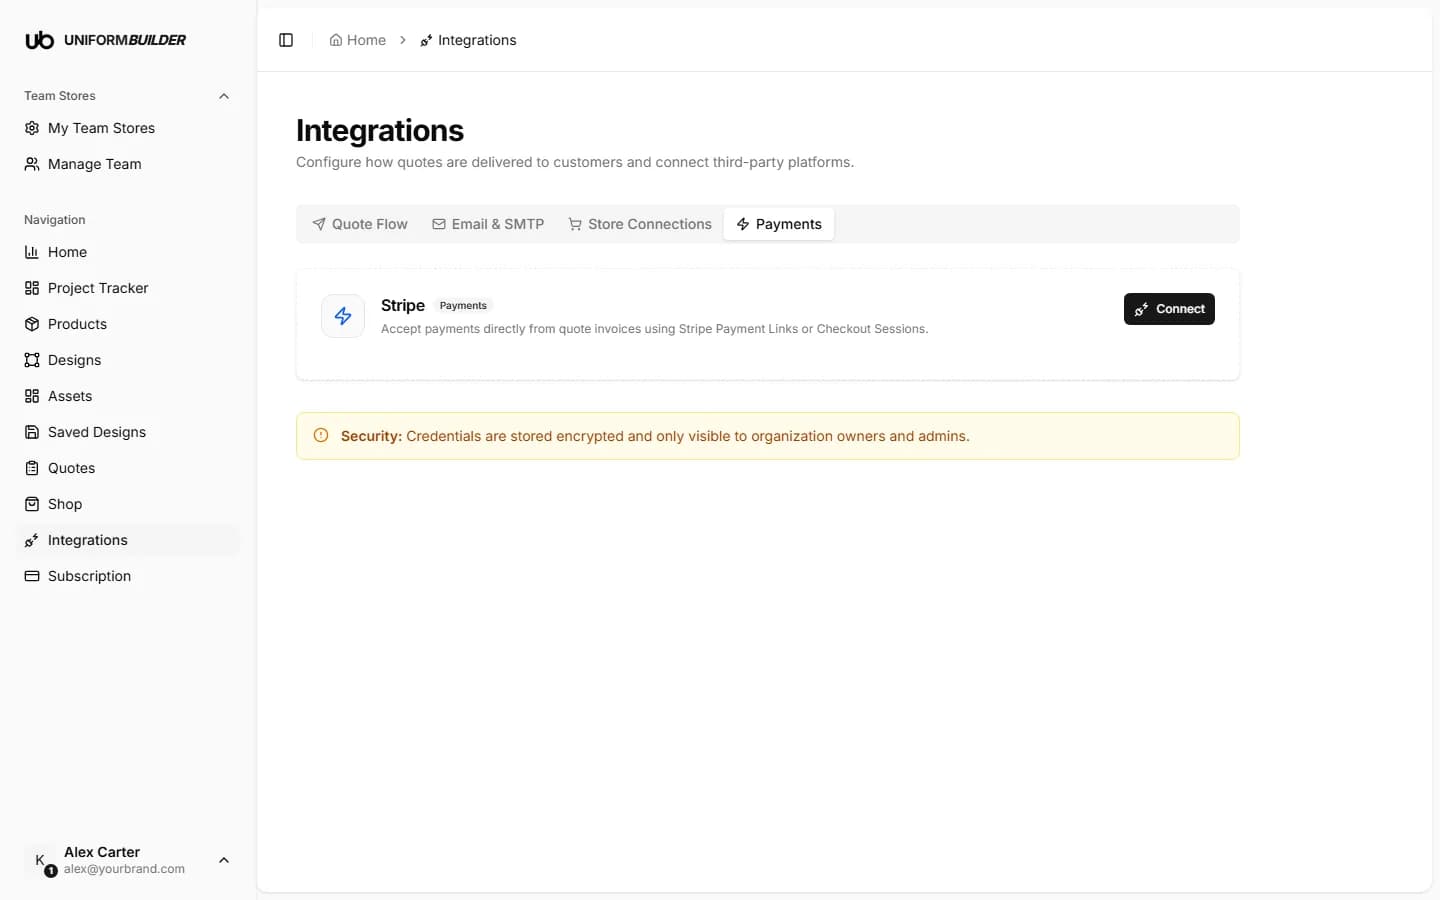
Open /dashboard/integrationsStripe lets you take payment directly from a quote invoice, with no online shop in the middle. Choose it when you do not run a Shopify or WooCommerce store and simply want customers to be able to pay.
What you need before you start
A Stripe account. Creating one is free; taking real payments requires completing their business verification, which Stripe walks you through and which can take a day or two.
Step 1: get your API keys
- 1
Sign in at dashboard.stripe.com.
- 2
Go to Developers → API keys.
In newer Stripe layouts this is under the Developers menu in the top bar, or search "API keys" in the dashboard search box.
- 3
Copy the Publishable key.
It starts with
pk_. This one is designed to be visible in a browser, so it is not a secret. - 4
Click Reveal on the Secret key and copy it.
It starts with
sk_. This one is a password in everything but name: it can move money.
Never paste a secret key anywhere else
Not into an email, a chat message, a spreadsheet or a support ticket. If one is ever exposed, roll it in the Stripe dashboard immediately: rolling issues a new key and kills the old one.
Test mode and live mode
Stripe gives every account two complete sets of keys. Which set you copy decides whether real money moves.
| Field | What it does |
|---|---|
| Test keys | pk_test_... and sk_test_.... Payments are simulated: use Stripe test card 4242 4242 4242 4242 with any future expiry and any CVC. Nothing is charged. |
| Live keys | pk_live_... and sk_live_.... Real cards, real money. Only available once your Stripe account is activated. |
Tip
Start with test keys, run one quote end to end, confirm the payment shows in the Stripe dashboard, and only then swap in the live pair. Both keys must be from the same mode: mixing a test publishable key with a live secret key fails.
Step 2: paste them here
| Field | What it does |
|---|---|
| Publishable keyrequired | The pk_ value. Safe to expose in the browser; it is used by Stripe.js on the payment page. |
| Secret keyrequired | The sk_ value. Stored encrypted, visible only to organization owners and admins, and never sent to the browser. |
- 1
Enter both keys on the Payments tab and save.
- 2
Send yourself a test quote and pay it with the Stripe test card.
- 3
Check the payment appears in your Stripe dashboard.
Remember to switch the Stripe dashboard into test mode to see test payments.
Where the money goes
- Payments land in your Stripe account and pay out to your bank on your Stripe payout schedule.
- Stripe's own processing fee applies per transaction; their pricing page has the current rate for your country.
- Refunds, disputes and receipts are all handled in the Stripe dashboard, the same as any other Stripe payment.
This is separate from your UniformBuilder subscription
The keys here are for charging your customers. What you pay for your own plan is handled on the Subscription page and is unrelated.
Can I use Stripe alongside Shopify?
No. The three providers are mutually exclusive. If you have a Shopify store, take payment through its checkout, which already has your payment provider configured.
A payment failed with "No such payment_intent" or an invalid key error.
Almost always a test key paired with a live one, or a key copied with a trailing space. Re-copy both keys from the same mode.
Do I need a webhook?
Not for this connection. The keys are all that is configured here.
Can I switch back to email quotes later?
Yes. Change the delivery mode on the Quote Flow tab. Your keys stay saved, so you can switch back without setting them up again.